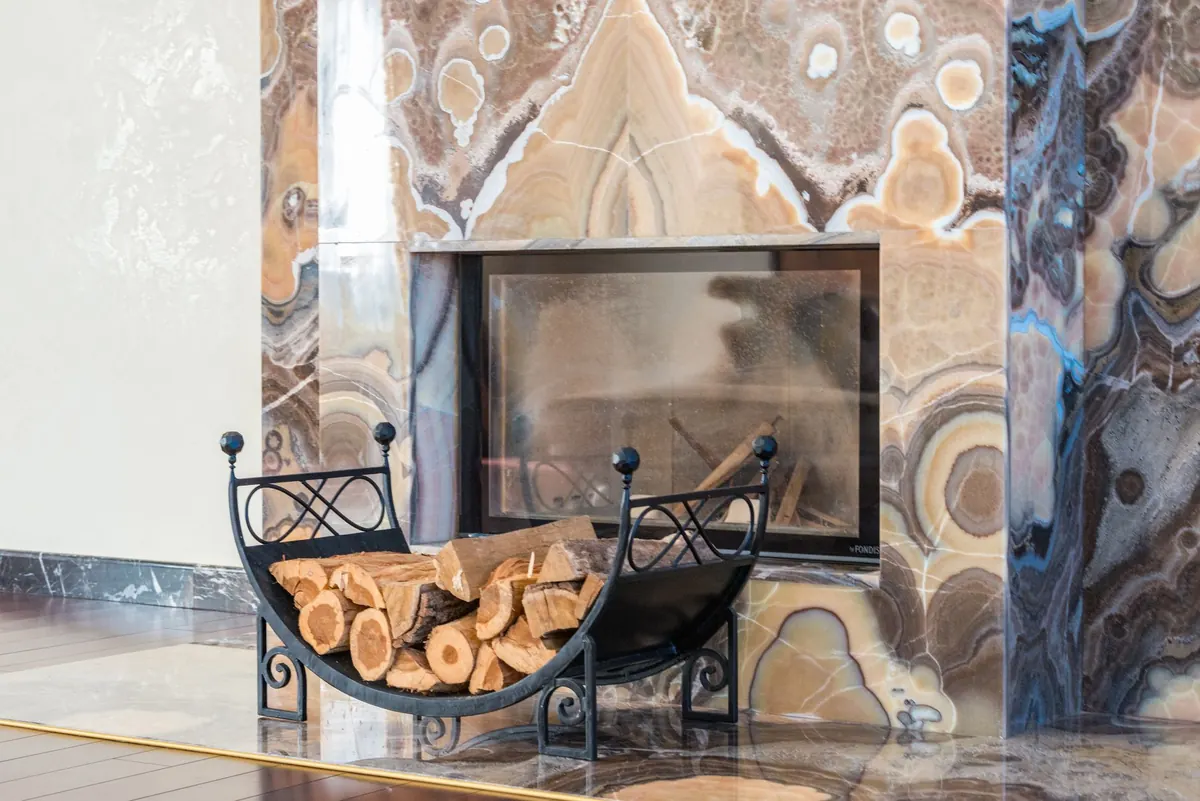
A fireplace surround is one of the few places in a house where a piece of stone has a job to do. It frames the fire, takes the heat, catches the ash, and gets looked at more often than almost anything else in the room. People usually arrive at the slab yard with a picture in mind — a dramatic Calacatta with a bold grey vein, or a soft white Carrara — and a mantel height already pencilled on the wall. What they often don't have is a clear sense of how heat, slab size, veining and finish will each narrow the choice. Those four things are worth working through in order, because the stone you fall for should also be the stone that works.
Start with the fire, not the stone
Before you look at a single slab, find out what kind of fire you are building around. A sealed wood-burning insert, an open hearth, a gas fire and an electric fire deliver very different heat to the surround, and they change what the marble has to tolerate.
Marble is limestone that has been compressed and recrystallised under enormous pressure. It has been used around fireplaces for centuries, and steady radiant warmth is not its enemy. Abrupt, uneven temperature change is. A cold slab that suddenly meets intense heat in one small area — usually just above the firebox opening — expands faster there than in the rest of the stone. Repeat that often enough and you get hairline cracks, or a spalled edge where a thin piece flakes away. Thin tile, marble stuck on with voids behind it, and any stone holding moisture are the most vulnerable. A solid 30mm slab, fully bedded onto a cement board substrate with no hollow spots, behaves far better than 10mm tiles fixed to plywood.
Distance is the other protection. Every firebox comes with the manufacturer's clearance instructions, and those instructions override anything a showroom or a mason would prefer. In practice that usually means keeping marble out of the immediate zone around the opening, or introducing a metal trim or a different, more heat-tolerant material if the design wants stone close to the flames.
What sealing does and doesn't do
A penetrating sealer slows the absorption of soot, ash and spillages, which makes a surround much easier to live with. It does not make marble heat-proof, and it will not stop a hot spot from cracking a badly supported slab. Sealing is housekeeping, not engineering.
If your fire runs very hot or you want stone within a few centimetres of the opening, ask about alternatives before you commit: soapstone holds heat beautifully, and granite is less acid-sensitive and generally more heat-tolerant, though it too can crack under sudden temperature change. Marble remains a sound choice when it is thick, well supported and sensibly spaced — and it is worth having a qualified installer confirm the detailing. Local building rules and the appliance manual come first.
Measure the surround before you measure the slab
Fireplace openings are rarely standard, and a surround is a set of dimensioned pieces: two legs, a header or frieze, and often a hearth. Take a cardboard template of the opening and the wall area you want to cover. Photograph the wall with a tape measure visible in the frame, and note the make and model of the fire. Those three things — template, photo, model — will save you a return trip.
Then think about the slab. A typical slab is large, but sizes vary by block and by supplier, and the pieces have to come out of it with the veining still making sense. The strongest results usually come from cutting the legs and the header from one continuous slab, so the pattern flows around the opening instead of restarting at each joint. Ask how many seams the layout needs and where they will fall. A seam in the middle of the header, or running down the visible face of a leg, will always draw the eye.
Bookmatching — taking two consecutive slabs and opening them like a book so the veins mirror each other — is a striking option for a wide surround. It needs two slabs from the same block, and it needs the mirror line placed deliberately, usually on the centre of the fire. Get the layout drawn before anything is cut.
Don't forget the practicalities of weight and access. A 30mm slab is heavy, and a long header may not fit through a narrow stair, a lift or a tight doorway. Measure the route before you order.
Reading the veining like a designer
Veins run through a block in one direction. Once the slab is cut, you can choose how that direction sits on the wall: a strong diagonal, a calm vertical flow, or a horizontal movement along the header. Ask to see the slab layout drawn to scale on the actual stone. It is the only honest way to know whether that dramatic vein will land where you want it or slice awkwardly through the middle of a leg.
Scale matters as much as drama. A quiet, evenly clouded stone such as Carrara or Bardiglio can look bland in a large room, while a huge, high-contrast vein from a Calacatta or Statuario slab can overwhelm a modest surround. Dark marbles such as Nero Marquina and Emperador photograph beautifully and show every speck of pale ash. Whites show soot. Mid-tone greys and honed beiges are the most forgiving in daily use.
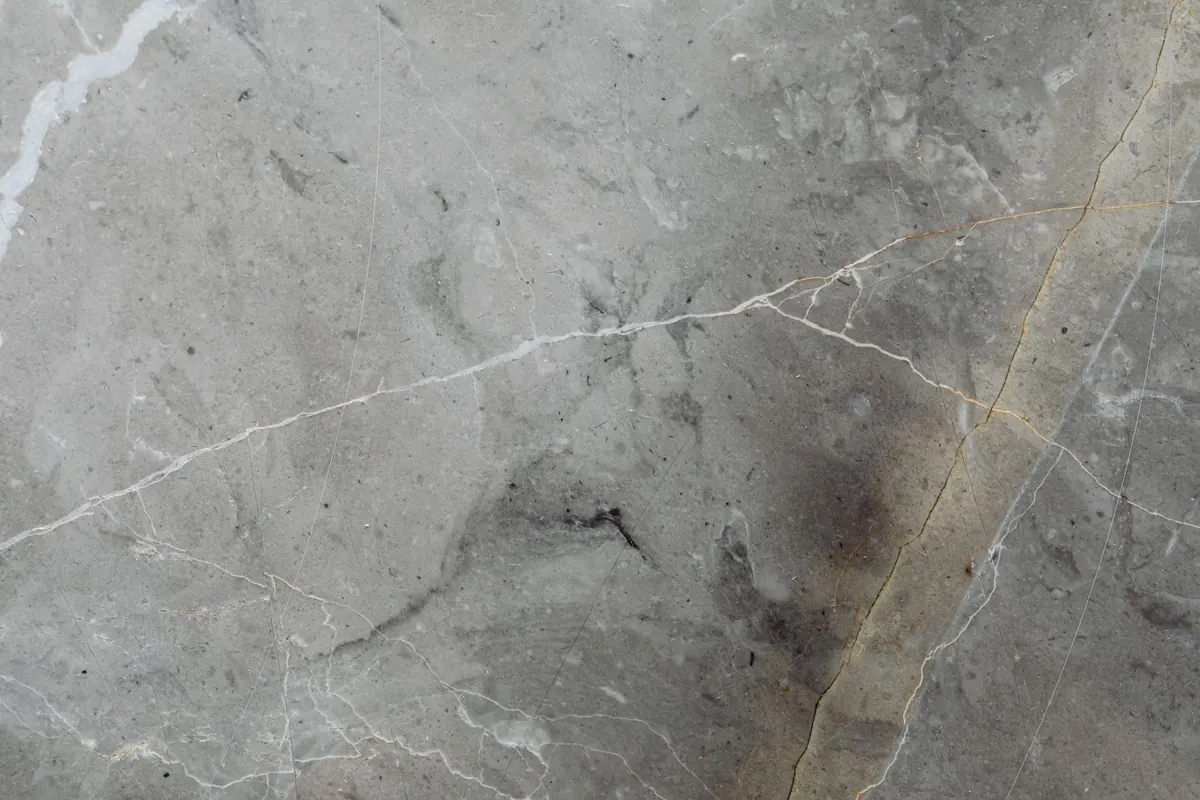
Two more things worth checking on the slab itself. Hairline fissures are normal in marble and are often resin-filled at the factory — look at how well the fill matches. And never judge a stone from a 10cm sample. View the whole slab, in daylight if you can, and ask to see it against a sample of your wall colour and floor.
Choosing a finish that survives real life
The finish changes both how the stone looks and how it ages. Here is the honest summary:
- Polished. Deep colour and mirror reflections, superb on a surround nobody touches. It also shows dust, fingerprints and every acid etch.
- Honed. A smooth matte-satin surface that hides dust and light scratches and reads softer in a period room. The most practical choice for most surrounds and hearths.
- Brushed or antiqued. A lightly textured surface that disguises wear and suits rustic or heavily used rooms.
- Sealed. A penetrating sealer, reapplied periodically. Useful, not invincible.
- Edge profile. An eased or small chamfer edge is cleaner and less chippable than a deep ogee or bullnose, especially on a hearth.
Whatever the finish, marble is acid-sensitive. Vinegar, lemon, descaling sprays and many bathroom cleaners will dull a polished surface permanently. Clean soot with a dry soft cloth first, then a pH-neutral stone cleaner. Keep a note of the sealer used so you can top it up.
A short checklist for the slab yard
- The fire appliance manual, including clearances.
- A cardboard template of the opening and surround area.
- Wall and floor samples, or good photographs in daylight.
- Finished dimensions for legs, header and hearth, with the seam positions sketched.
- Questions for the fabricator: how many slabs, what layout, how much waste?
The order that keeps the project calm
Decide the appliance first, then the template, then the slab, then the finish. Ask for a layout drawing on the actual stone before cutting begins, and view the slab in person rather than approving a photograph. Choose a fabricator who has templated fireplace surrounds before and who will talk through substrate, expansion gaps and clearances without being asked twice. Keep one offcut from the same slab: a small piece is invaluable later if an edge ever needs repair, and it makes a decent trivet too.
Get those steps right and the marble stops being a risky purchase. It becomes what it should be — the calm, solid centre of the room, quietly doing its job for decades.
Photo: Max Vakhtbovych / Pexels