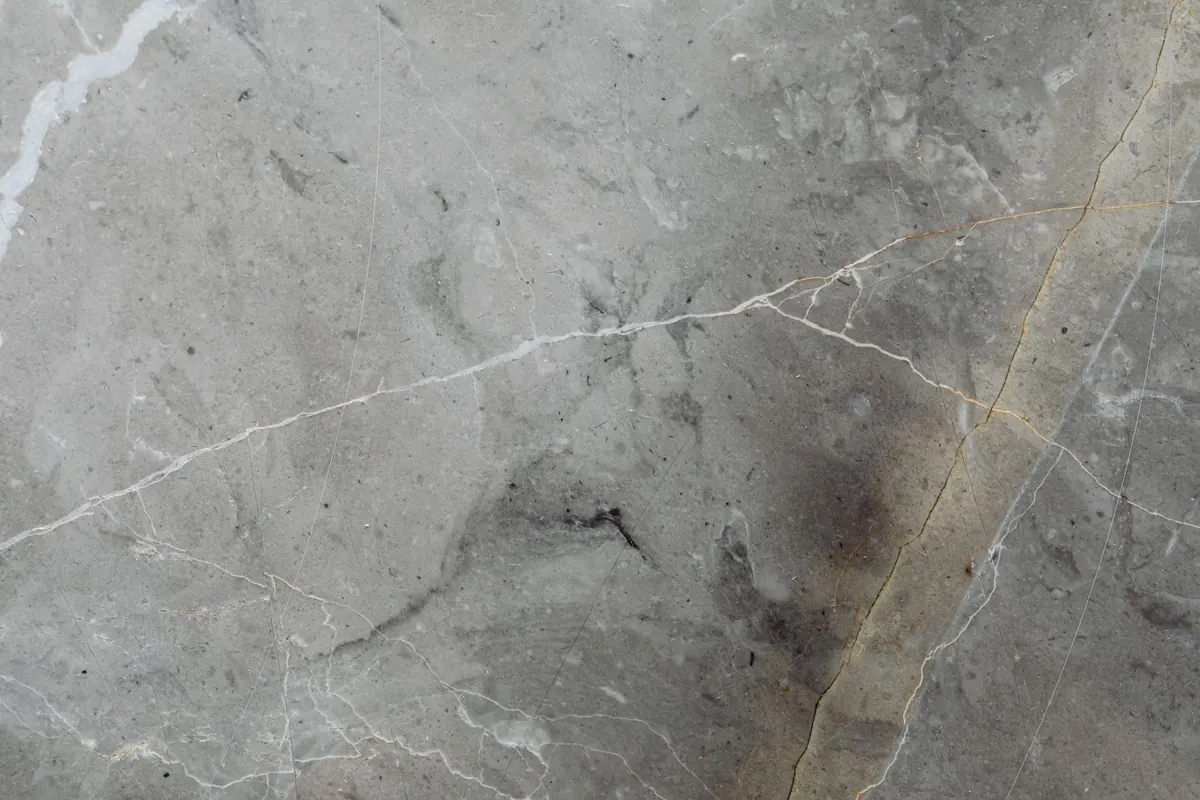
Natural stone does not forgive the way porcelain does. A slightly crooked porcelain tile can be lifted and reset. A slab of honed limestone forced into a tight joint with the wrong grout may never look right again. The difference between a floor that still reads beautifully after ten years and one that cups, stains or sounds hollow is rarely the stone itself. It is almost everything that happens in the week before the first bag of thinset gets opened.
What follows is the checklist we would walk through with a friend who was about to lay marble, travertine, slate or granite. Work through it in order, because each step depends on the one before it.
Lay It Out Dry Before Anything Else
Open several boxes at once and dry-lay the stone across the floor. This is the only chance you get to see the veining, the colour variation and the pattern as a whole, and to fix it cheaply. Set your centre line, then check what happens at the walls, doorways and thresholds. A row of 25 mm slivers along a visible wall will bother you every day for the next twenty years; shift the layout half a tile and they disappear.
Stand in the doorway you use most and look across the room. Veins in marble and travertine read as long lines, and those lines should run the direction your eye travels. If you are laying a diagonal or herringbone pattern, dry-lay enough courses to confirm the cuts at the perimeter before you commit. Plan the transition to other floors now as well: a stone that finishes at 20 mm against a 14 mm timber floor needs a threshold detail, not a surprise on the last day.
Inspect the Stone, Not Just the Sample
The sample board in the showroom was chosen by someone. The pallet in your garage was not. Unwrap a few boxes and look closely.
- Thickness. Run a caliper across several pieces. Natural stone varies, and pieces that differ by more than a millimetre or two make tight joints impossible and lippage likely.
- Damage. Set aside chipped corners, hairline cracks and pieces with iron staining or efflorescence. Keep them for cuts.
- Blending. Mix pieces from several boxes as you install, so that a darker batch does not end up clustered in one corner of the room.
- Porosity. Put a few drops of water on the face and watch. If it darkens within a minute, the stone is porous and sealing is not optional. If the water beads, it is dense. Either way, you now know.
Order waste honestly. Ten percent is a working figure for a straightforward layout; go higher for diagonals, small rooms with many cuts, or stone with heavy movement where you want to control which pieces sit where.
Let the Stone Acclimate to the Room
Stack the stone on edge in the room where it will be laid, on battens rather than directly on a damp slab, and leave it for at least 24 hours, ideally two days. Stone that has been sitting in a cold, humid yard needs to reach the temperature and moisture of the room before it is bonded down. Bring the thinset, grout and any membrane in at the same time. Keep everything out of direct sun and away from radiators, and never lay stone over a freshly poured slab that has not cured.
Check the Substrate, and Be Honest About It
Flatness
Natural stone is rigid, so it telegraphs every dip in the floor beneath it. Aim for no more than 3 mm of variation over 3 metres, and tighter than that across a single large-format piece. Check with a long straightedge in both directions, and around the room rather than only through the middle. High spots get ground or levelled; low spots get patched with a suitable compound and left to cure properly. Chasing a wavy floor with extra thinset is how lippage happens.
Deflection and movement
On a timber subfloor, stone demands a stiffer structure than ceramic — a common rule of thumb is twice the stiffness, roughly L/720 rather than L/360. If you are not certain what is under the floor, find out before you buy adhesive. On concrete, check for cracks and consider an uncoupling or crack-isolation membrane. Leave a movement joint at the perimeter and at doorways, and at the intervals your stone and setting system require. Stone expands and contracts, and a floor that is boxed in with no room to move will tent or crack.
Decide on Sealing Before You Grout
Sealing is not a coating that makes stone stain-proof; it buys you time to wipe up a spill. For most marble, limestone and travertine, a penetrating sealer is the right choice — it sits in the pores and still lets the stone breathe. Topical sealers can trap moisture and are best avoided in wet areas.
Test any sealer on a spare tile first. Some honed finishes darken noticeably, and some sealers leave a patchy sheen on slate. Sealing before grouting is worth the extra hour: it makes grout release from the surface far easier and protects porous stone from haze. Apply a second coat after the grout has cured, following the product's directions rather than a fixed calendar, and remember that acid-based cleaners will etch marble and limestone no matter how well they are sealed.
Choose Grout That Suits the Stone
The grout is a design decision, not an afterthought. A joint close to the stone colour makes a floor read as a single surface; a contrasting grout outlines every tile and shows every imperfect cut.
Sand-free grout suits narrow joints and polished surfaces that scratch easily; sanded grout is more tolerant of wider joints and gives a firmer fill. Epoxy grout needs no sealing and resists staining well, but it sets fast and demands clean, confident work — not the product to learn on. Keep joints at 2–3 mm as a practical minimum for most natural stone, wider if the pieces are ungauged. Anything tighter than that, and slight variations in thickness will leave edges standing proud of one another.
Have These on Site Before You Start
- A long straightedge and a spirit level long enough to span the room's dips.
- A notched trowel matched to the tile size, plus a rubber mallet and levelling clips if you are using them.
- White or grey thinset chosen for stone — some stones are sensitive to rapid-set and to dark adhesive showing through pale faces.
- Sponges, buckets, clean water and a grout release or sealer already tested.
- A wet saw with a blade rated for stone, and a sacrificial tile for setting the depth.
The Last Walk-Through
Before you mix anything, walk the room one more time with the layout marked, the stone blended, the floor flat and the sealer tested. Take photographs of the dry layout — they will settle arguments later. Then work in small batches, keep your joints consistent, and clean as you go, because stone is far less forgiving of a smear left overnight than ceramic is. Do those things and the installation becomes the quiet part; the part nobody notices is the part you did right.
Photo: timmossholder / Pixabay